Thursday, April 16, 2009
Monday, July 30, 2007
New images
Progress has been slow, due in part to upgrading to a new computer and operating system, which is great, but is taking a while to shake out the bugs and get things calibrated for my workflow, etc.. It's been a big step backward in some ways. I also upgraded to Photoshop CS3 while I was at it, as if I needed yet another learning curve to climb this summer.
I have though, found some time for the more creative side of my work, so here are a couple of "work prints" that are making their way toward becoming gravures. There are many farm markets near me, and it's very easy to find produce that's still moist from being pulled from the earth just hours before.

.
Tuesday, May 8, 2007
smooth tones

I was beginning to feel I would never get smooth tones out of this process, but today I finally got it right. When I decided to print this image I thought it would be the perfect one to either make me or break me in this regard since it's all about smooth tones. What a relief! The strange thing is that I didn't do anything all that different... it's just been a lot of small changes with press pressure, blankets, paper soaking time etc. I still have to adjust the curve for this a bit to feel like it's perfect, but for right now, I'm happy. Image size is 8 x 10".
Wednesday, April 11, 2007
new radishes print

click image for closeup
For those unfamiliar with this process, the above image is an etching... ink on paper... printed with an intaglio etching press. The printing plate was made from a photograph. For more information, see the sidebar to the right.
Sunday, March 4, 2007
latest test print

This is a gravure made while testing a new method for exposing the plate without the inkjet positive being pressed too tightly against the plate, causing "measles", or uneven areas of tone. This print was exposed using a foamcore "window" technique in the vacuum press, which didn't allow the plate and positive to be pressed against the glass. This is only the second proof pulled from the plate, so it's still not a finished print. Also... when printing the positive used to expose the plate, the printer output had some microbanding problems, which show up in the print, though not noticable in this web image. The image/plate is 5x5".
The uneven areas in the print are in the original, by the way... they are supposed to be there :o) The print IS a little contrasty though, and I expect to deal with my exposures and curves in more detail next. Need to find those middle tones...
There are two closeups of the print below... the tiny horizontal lines are there, but you have to look hard to see them.

Friday, February 23, 2007
inked polymer plate
 Here is a shot of an inked polymer plate. This section of the plate is about 1.75 inches wide. It shows the "aquatint" random dots, and you can see how those help to hold the ink in the darker areas. Below are two closeup views, which clearly show the spacing of the random dots. Each of these sections are about 3/8" wide.

Wednesday, February 21, 2007
midtone measles

Above is a gravure I printed tonight. It has a bad case of midtone measles. Click on it to view larger.
Below is the original positive the plate was made from (curve not shown). Click it to enlarge.
First print

So here is a scan of a gravure I printed today. size is 7 x 4.5. Overall I'm pleased, but of course this image doesn't have obvious gradient tones that are more difficult. I'll give that a try next.
I'd gotten a new paper cutter for cutting plates, and I let the plate slip as I cut it, making it out of square. No biggie, since this is just a test print, but I need to practice with the cutter.

here's a detail.
both of these images enlarge if you click on them.

click image to enlarge
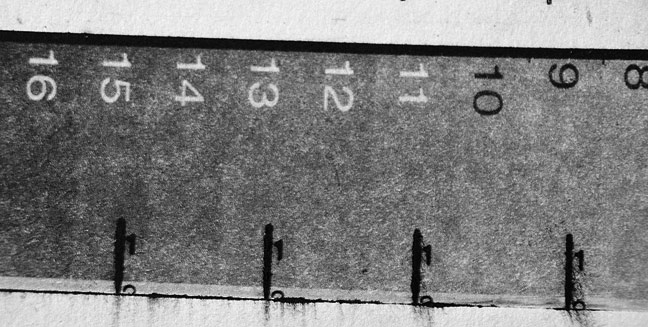
Here's the actual stepscale transparency, printed in the 1280 on OHP. I scanned it, then adjusted it in PS so that it's a near-perfect representation of the positive used for the test prints already posted. By the way, my Epson print driver doesn't tell me what dpi it's printing at... just offers me options like "photo", "best photo", and "RPM photo". Seems that RPM photo is the highest quality... smoothest tone, and so I used it. It must be the 2880 setting. EDIT: Wrote Epson and found out that "photo" = 1440 and "best photo" = 2880. "RPM" = 5760.
(ignore the little black lines at the top... just a sign of me using every last square inch of the OHP I have for these test exposures ;o) )

Subscribe to:
Posts (Atom)